🦊 How to Connect MetaMask to Uniswap (Step-by-Step Guide)
Learn how to safely connect your MetaMask wallet to Uniswap and start swapping tokens in minutes.

1. What You Need Before You Start
- A MetaMask wallet installed (Chrome/Brave/Firefox).
- Some ETH to pay gas fees.
- The official Uniswap website: app.uniswap.org.
⚠️ Only use official URLs — avoid links from random DMs or social media.
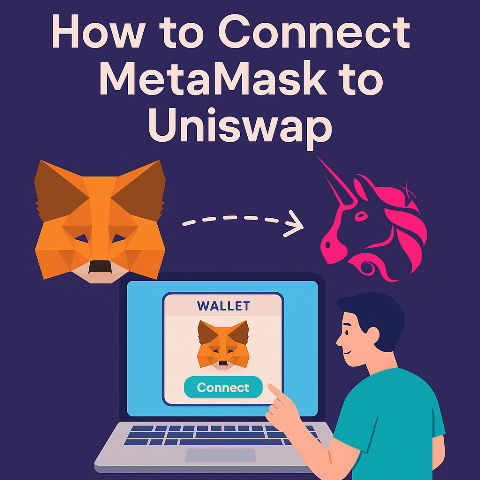
2. Open Uniswap and Click “Connect Wallet”
Visit app.uniswap.org in your browser. Click the “Connect Wallet” button at the top right.

3. Choose MetaMask
A pop-up will appear with wallet options. Select MetaMask. Your browser will prompt MetaMask to open.

4. Approve the Connection
MetaMask will show a confirmation window. Review the permissions and click “Connect”.
🔐 Always double-check that the URL is https://app.uniswap.org.
5. You’re Connected ✅
Once connected, your wallet address will appear in the top-right corner of Uniswap. You can now:
- Swap tokens (e.g., ETH to USDC)
- Provide liquidity to pools
- Track your transactions on Etherscan
6. Security Tips
- Disconnect wallet after trading if not active.
- Never sign suspicious transactions.
- Use a hardware wallet for extra protection.